So, you’ve got a bunch of movies, music, and photos sitting on your computer, and you’re tired of juggling different drives or dealing with clunky interfaces. Well, Plex can totally change that. It’s like building your own personal Netflix, but with all your stuff. This guide will walk you through setting it up, organizing your media, and getting it all to work smoothly on pretty much any device you own. Let’s get your media library sorted.
Key Takeaways
- Setting up your Plex Media Server involves choosing the right hardware, installing the software, and creating a free Plex account to manage your media.
- Organizing your media library effectively means creating clear folder structures, naming files properly, and adding them to your Plex libraries for easy browsing.
- Optimizing your Plex server’s performance includes tweaking settings, managing multiple libraries and users, and ensuring your network is set up for smooth streaming.
- Enabling remote access lets you stream your media from outside your home network, but it requires careful configuration of firewalls and ports for security.
- Plex offers various features like Plex Pass benefits, Live TV/DVR, and content discovery tools, accessible through its web app and dedicated client apps on different devices.
Setting Up Your Plex Media Server
Getting your Plex Media Server up and running is the first big step to enjoying your media anywhere. It’s not as complicated as it might sound, and once it’s set up, you’ll wonder how you managed without it.
Choosing the Right Hardware for Plex
Before you even think about installing software, you need a place for Plex to live. This could be your main computer, a dedicated desktop, or even a Network Attached Storage (NAS) device. The key thing is that this machine needs to be able to handle playing your media, especially if you plan on streaming to multiple devices at once or playing high-definition files. If your media files are mostly standard definition and you only plan to watch on one device at a time, an older computer might do the trick. But if you’re thinking about 4K movies or streaming to several people, you’ll want something with a bit more power, particularly a decent processor. Think of it like this:
| Task | Recommended Specs (Minimum) | Recommended Specs (Better) |
|---|---|---|
| Basic Streaming (1080p) | Dual-core CPU, 2GB RAM | Quad-core CPU, 4GB RAM |
| Multiple Streams (1080p) | Quad-core CPU, 4GB RAM | Six-core CPU, 8GB RAM |
| 4K Streaming | Six-core CPU, 8GB RAM | Eight-core+ CPU, 16GB RAM |
Don’t forget storage! You’ll need enough space for all your movies, shows, and music. External hard drives can work, but a NAS often provides a more robust solution for storing and accessing large amounts of data.
Installing and Configuring Plex Media Server Software
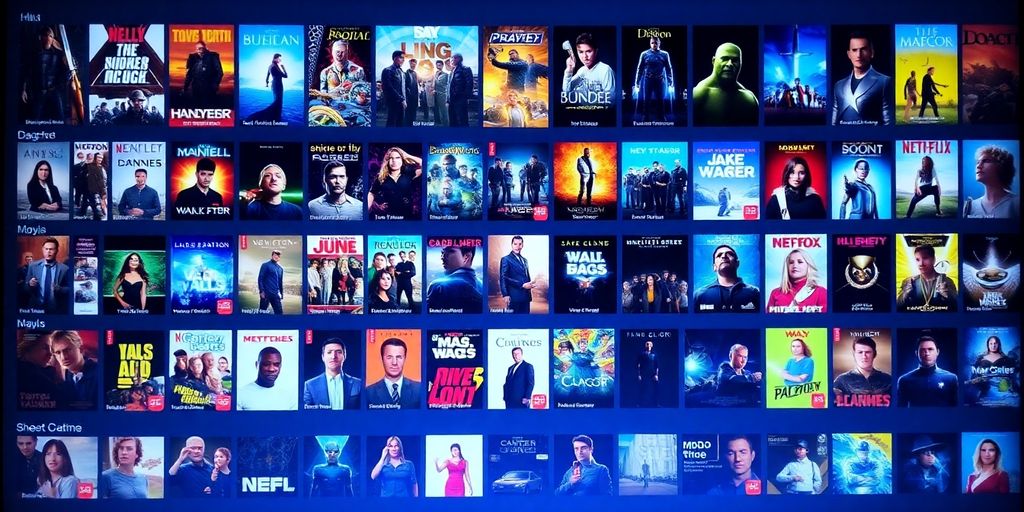
Once you have your hardware sorted, it’s time for the software. Head over to the official Plex website and download the Plex Media Server application for your operating system (Windows, macOS, Linux, or even some NAS devices). The installation process is usually straightforward – just follow the on-screen prompts. After installation, you’ll typically access the server’s settings through your web browser. This is where you’ll give your server a friendly name, like “My Awesome Media Hub,” and start telling Plex where to find your media files. You’ll create different libraries for movies, TV shows, music, and photos. Plex is pretty smart and will automatically scan these folders, grab metadata like movie posters and cast information from the internet, and organize everything beautifully. It’s a good idea to set up your libraries during the initial setup, but you can always add or change them later.
Creating Your Free Plex Account
To use Plex, you’ll need a Plex account. This account is free to create and is what links all your Plex devices together. It’s how Plex knows which server belongs to you and allows you to access your media from anywhere. You can sign up on the Plex website. Once you have an account, you’ll sign into it on both your Plex Media Server and any Plex client apps you use (like on your phone, smart TV, or streaming stick). This account also keeps track of your media libraries and settings, making it easy to manage your entire Plex experience from one place.
Setting up your Plex server is like building your own personal Netflix. You control what goes in, how it’s organized, and who gets to watch it. It takes a little bit of initial effort, but the payoff in terms of media access and organization is totally worth it.
Organizing Your Media Library with Plex
Now that your Plex Media Server is up and running, it’s time to make sense of your digital hoard. Organizing your media isn’t just about making things look tidy; it directly impacts how easily you can find and play what you want. Think of it as setting up a really good filing system, but for your movies, music, and shows.
Creating and Organizing Media Folders
Before Plex can even see your files, they need a home. The best approach is to create a clear folder structure on the drive where your media is stored. This makes it simple for Plex to scan and identify everything correctly. Start with broad categories and then get more specific.
- Movies: Create a main folder for all your films.
- TV Shows: A separate folder for series is a must.
- Music: Keep your albums and artists together here.
- Photos: If you store photos, give them their own space.
Within these main folders, you can create subfolders. For movies, you might not need many, but for TV shows, organizing by series name is standard. For music, artist folders followed by album folders work well. The key is consistency. A well-organized folder structure is the foundation of a smooth Plex experience.
Naming and Tagging Your Media Files
This is where Plex really shines, but it needs your help. Plex uses file names to identify your media and fetch all the cool stuff like posters, summaries, and cast information. If your files aren’t named properly, Plex might get confused, or worse, not recognize them at all.
Here’s a general guideline for naming:
- Movies:
Movie Title (Year).ext(e.g.,The Matrix (1999).mkv) - TV Shows:
TV Show Name - SXXEYY - Episode Title.ext(e.g.,Game of Thrones - S01E01 - Winter is Coming.mp4). For shows with seasons, you can also useTV Show Name/Season XX/TV Show Name - SXXEYY - Episode Title.ext.
While Plex does a lot of automatic tagging, you can also add your own metadata if you have specific needs. This might involve using tools to embed tags directly into your media files, but for most users, correct naming is enough to get Plex to do its magic.
Getting the naming right upfront saves a lot of headaches later. It’s like proofreading your work before you submit it – a little effort now prevents bigger problems down the line. Plex is smart, but it’s not a mind-reader, so give it the information it needs.
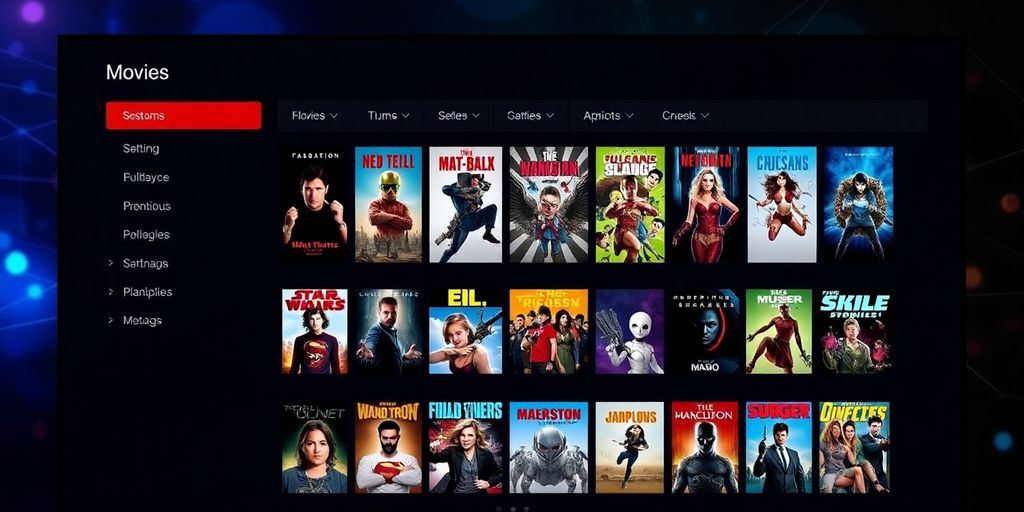
Adding Your Media Libraries to Plex
Once your folders are set up and your files are named, you need to tell Plex where to find them. This is done by adding libraries.
- Open the Plex Web App.
- Click the
+icon next to your server name in the left sidebar. - Choose the type of library (Movies, TV Shows, Music, Photos, etc.).
- Give your library a name (e.g., “My Movie Collection”).
- Click “Browse For Media Folder” and select the main folder you created earlier (e.g., your “Movies” folder).
- Click “Add Library”.
Repeat this process for each type of media you have. Plex will then start scanning these folders, identifying your files, and downloading all the associated metadata. This can take a while, especially for large libraries, so be patient. Once it’s done, your media will be beautifully organized and ready to stream.
Configuring Plex Server for Optimal Performance
Once your Plex Media Server is up and running, the next step is making sure it performs as well as it can. This involves tweaking a few settings to get the best streaming experience, especially if you have a lot of media or multiple people using it. It’s not just about having the hardware; it’s about making that hardware work smart.
Customizing Plex Server Settings
Plex has a bunch of settings that can really make a difference in how smoothly your media plays. One of the biggest factors is transcoding. This is what Plex does when your device can’t play a file directly, so it converts it on the fly. It’s super useful, but it can really tax your server’s processor.
Here are some key settings to look at in the Transcoder section:
- Transcoder quality: This lets you pick how good the converted video looks. Lowering it can help if your server is struggling, while higher settings look better but use more power.
- Maximum simultaneous transcodes: This limits how many files Plex will convert at once. If you have a powerful CPU, you can set this higher. If not, keeping it lower prevents your server from getting overloaded.
- Remote quality: This is important for when you’re streaming away from home. You can set a specific quality for remote streams to manage your upload bandwidth better.
- Network streaming bitrate: This sets the ceiling for how much data Plex can send over your network for streaming. Adjusting this can help prevent buffering on slower connections.
You’ll want to experiment with these settings. What works best often depends on your specific hardware and internet speed. It’s a balancing act between video quality and server load. Don’t be afraid to try different combinations until you find what feels right for your setup.
Managing Multiple Libraries and Users
As your media collection grows, you might want to split it into different libraries – like Movies, TV Shows, Music, and Photos. This makes browsing much easier. You can create these libraries under the main Plex settings. Also, Plex lets you invite friends and family to share your libraries. You can even set up managed users for kids, giving them access to specific libraries and parental controls. This is a great way to share your collection without giving everyone full admin access. For more on setting up your server, check out this guide to Plex.
Optimizing Network Settings for Plex
Your network is the highway for your media, so it needs to be clear and fast. For the best experience, try to use wired Ethernet connections for both your Plex server and your main streaming devices whenever possible. Wi-Fi can be convenient, but it’s often less stable and slower than a direct cable connection. If you’re using Wi-Fi, make sure your router is modern and placed centrally to get the best signal. Also, ensure your internet upload speed is sufficient, especially if you plan on streaming remotely. A fast, stable connection is key to avoiding playback issues.
Enabling Remote Access for Your Plex Server
Want to watch your movie collection while you’re on vacation or at a friend’s house? Plex makes that possible with its remote access feature. It basically lets you connect to your Plex Media Server from anywhere with an internet connection, not just from your home network. It’s pretty neat.
Understanding Remote Access in Plex
Plex’s remote access is what allows your server to be seen and accessed from outside your home network. When it’s enabled, you can log into your Plex account on any device – your phone, a laptop, a smart TV – and stream your media as if you were sitting right in front of your server. It’s like having your personal Netflix, but with your own stuff.
Configuring Firewall and Port Forwarding
Sometimes, Plex can’t automatically set up remote access because of how your home network is configured, especially with your router. Your router acts like a gatekeeper for your network, and it needs to know to let Plex traffic through.
- Check Plex Settings: First, go to your Plex Media Server settings, find ‘Remote Access,’ and see if it’s enabled. If it says it’s unavailable, you might need to do some manual setup.
- Manual Port Specification: In the advanced settings of ‘Remote Access,’ you can manually specify a public port. Plex usually uses port 32400. You’ll need to tell your router to send traffic on this port to your Plex server’s specific local IP address.
- Port Forwarding: This is the main step. You’ll need to log into your router’s administration page (usually by typing an IP address like 192.168.1.1 or 192.168.0.1 into your web browser). Look for a section called ‘Port Forwarding’ or ‘Virtual Servers.’ You’ll create a rule to forward incoming traffic on port 32400 (or whatever you specified) to the local IP address of the computer running your Plex Media Server.
- UPnP: Some routers support UPnP (Universal Plug and Play), which can sometimes automate this process. You can try enabling UPnP in your router settings as an alternative to manual port forwarding. Just make sure your Plex Media Server software is up to date if you go this route.
If your Plex server is behind multiple network devices, like a modem and a separate router, you might need to configure port forwarding on each device. This can get a bit tricky, so it’s worth checking your router’s manual or looking up specific instructions for your model.
Securing Your Remote Plex Connection
Making your server accessible from the outside world means you need to think about security. It’s not just about letting your friends in; it’s about keeping unwanted visitors out.
- Strong Passwords: Use strong, unique passwords for both your Plex account and your router’s admin login. This is the first line of defense.
- Keep Software Updated: Always keep your Plex Media Server software and your router’s firmware updated. Updates often include security patches that fix vulnerabilities.
- Limit Sharing: Be mindful of who you share your library with. Only invite people you trust. You can manage who has access through the ‘Users & Sharing’ settings in Plex.
- Consider a VPN (Carefully): While some people use VPNs with Plex, it can complicate remote access. If you use a VPN, ensure it’s configured correctly to allow Plex traffic, or consider disabling it for Plex if you’re having trouble with remote access. For most users, a properly configured router and strong passwords are sufficient.
Exploring Useful Plex Features
Beyond just organizing your files, Plex offers some really neat features that make your media library much more dynamic and enjoyable. It’s not just about watching movies; it’s about how you discover and interact with your content similar to what you experience when streaming on Disney Plus.
Leveraging Plex Pass Benefits
Plex Pass is the premium subscription that really opens up the platform’s capabilities. For a monthly or yearly fee, you get access to some great perks. Mobile Sync is a big one, letting you download content to your phone or tablet for offline viewing – perfect for commutes or flights. You also get advanced features like Live TV and DVR capabilities, parental controls for the kids, and even early access to new Plex features. It’s a way to get more out of your Plex setup, especially if you’re a heavy user or want that extra polish.
Utilizing Live TV and DVR Capabilities
If you’ve cut the cord on cable but still want to catch broadcast TV, Plex has you covered. By connecting a digital TV tuner and an antenna to your Plex server, you can watch and record live TV directly through the Plex interface. It’s like having your own personal DVR, but integrated right into your media library. You can browse a TV guide, set recordings for your favorite shows, and even manage them from anywhere. This feature really bridges the gap between your personal media and broadcast content, giving you a central place for all your viewing.
Discovering Content with Plex Discover
Plex Discover is a pretty cool addition that helps you find out where your favorite movies and shows are streaming. It pulls information from services like Netflix, Amazon Prime, and Hulu, showing you which platforms have the content you’re looking for. Instead of jumping between different apps, you can check Plex Discover to see if that movie you want to watch is available on a service you already subscribe to. It’s a handy way to manage your streaming subscriptions and find what to watch next without a lot of hassle. You can even find out where to rent or buy titles. It’s a good way to get more out of your existing streaming subscriptions and discover new content all within a single interface. It even helps you track where shows are streaming, whether it’s on Netflix, Disney Plus, or Crunchyroll — all from one convenient dashboard.
Accessing Your Media Library with Plex Clients
Once your Plex Media Server is humming along and your media is nicely organized, the next step is actually using it. This is where Plex clients come in. Think of them as the remote controls and screens for your personal media empire. Plex is pretty good about letting you watch your stuff on almost anything, which is a big plus.
Using the Plex Web App Effectively
The Plex web app is your go-to for managing your server and browsing your library from any computer. Just head over to app.plex.tv and log in. You can start playing movies, sort through your music, or check out photos right from your browser. It’s also where you’ll do most of your server management, like adding new libraries or tweaking settings. It’s pretty straightforward, but spending a little time getting familiar with its layout can save you headaches later.
Installing and Using Mobile and TV Apps
Plex has dedicated apps for pretty much every device you can think of. This means you can watch your movies on your phone during your commute, on a tablet in the backyard, or on your big-screen TV.
Here’s a quick rundown of where you can find Plex apps:
- Smartphones & Tablets: Available for iOS and Android.
- Smart TVs: Most major brands like Samsung, LG, Vizio, and Android TV have Plex apps.
- Streaming Devices: Roku, Amazon Fire TV, Apple TV, Chromecast, and Nvidia Shield all support Plex.
- Game Consoles: You can find Plex on PlayStation and Xbox.
Just search for “Plex” in your device’s app store, download it, and sign in with your Plex account. It’s usually a quick process.
Testing Media Playbacks Across Devices
After you’ve got the apps installed, it’s a good idea to test things out. Play a movie on your phone, then try the same one on your TV. See if your music library loads up correctly on your tablet. This helps you catch any potential playback issues or connection problems before you really need it, like when guests are over and want to watch something.
Sometimes, a file might play fine on one device but stutter on another. This often comes down to the device’s ability to handle the video format or the network speed between your server and the client device. Don’t be afraid to experiment with different files and devices to see what works best.
Wrapping Up Your Plex Journey
So, you’ve gone through the steps to get your Plex server up and running. It’s really about taking your own movies, music, and photos and making them easy to watch or listen to on pretty much any device you own. Remember to keep things organized with good folder names and maybe add some tags. Updating the software is a good idea too, just to keep everything running smoothly and safely. Think of it as your personal media hub, ready whenever you are. And if you’re also into streaming anime on Crunchyroll, Plex can complement that by keeping all your personal media just as accessible. It might take a little effort at first, but having your whole collection at your fingertips, wherever you are, is pretty great. Enjoy your media!
Frequently Asked Questions
What exactly is Plex?
Plex is like a personal Netflix for all your movies, music, and photos. It’s a program you install on a computer or special storage device (called a NAS) that holds your media. Once set up, you can watch or listen to your stuff on almost any device, like your phone, tablet, smart TV, or computer, from anywhere with internet.
Why would I want to make my own Plex server?
Setting up your own Plex server gives you total control over your media. You don’t have to rely on other streaming services, and you can organize everything exactly how you like it. Plus, you can watch your favorite shows and movies even when you’re away from home.
What stuff do I need to start a Plex server?
You’ll need a computer or a NAS device to run the Plex Media Server software. Make sure it has enough space for all your media. You’ll also need an internet connection and a free Plex account. That’s pretty much it to get started!
Can I watch my movies when I’m not at home?
Yes, you absolutely can! As long as your Plex server is turned on and connected to the internet, you can sign in to your Plex account on another device, like your phone or a friend’s computer, and stream your media from anywhere in the world.
Can other people in my house use Plex too?
Definitely! Plex lets you create different user profiles. This means everyone in your family can have their own personalized experience, with their own watch lists and settings. You can even set up special rules for kids to make sure they only see age-appropriate content.
How does Plex organize all my files?
Plex automatically finds and downloads information like movie posters, TV show details, and album art for your media. This makes your library look super organized and professional, like a real streaming service. It also helps you find things much faster.
Related Posts

Exploring the Magic of DisneyPlus: What’s New on the Streaming Service?
Thinking about what to watch next? Disney+ is a pretty…
What to Watch on Netflix: New Releases and Top Picks This Week
Alright, let's talk about what's new and noteworthy on Netflix…